
Replacing your own faucet can be fairly straightforward. At Dutton Plumbing, Cooling, & Heating, we’ve put together helpful steps on how to do this at home. However, if you don’t think you can handle it on your own, all you need to do is get in touch with our professional and helpful team.
Remove the Handle
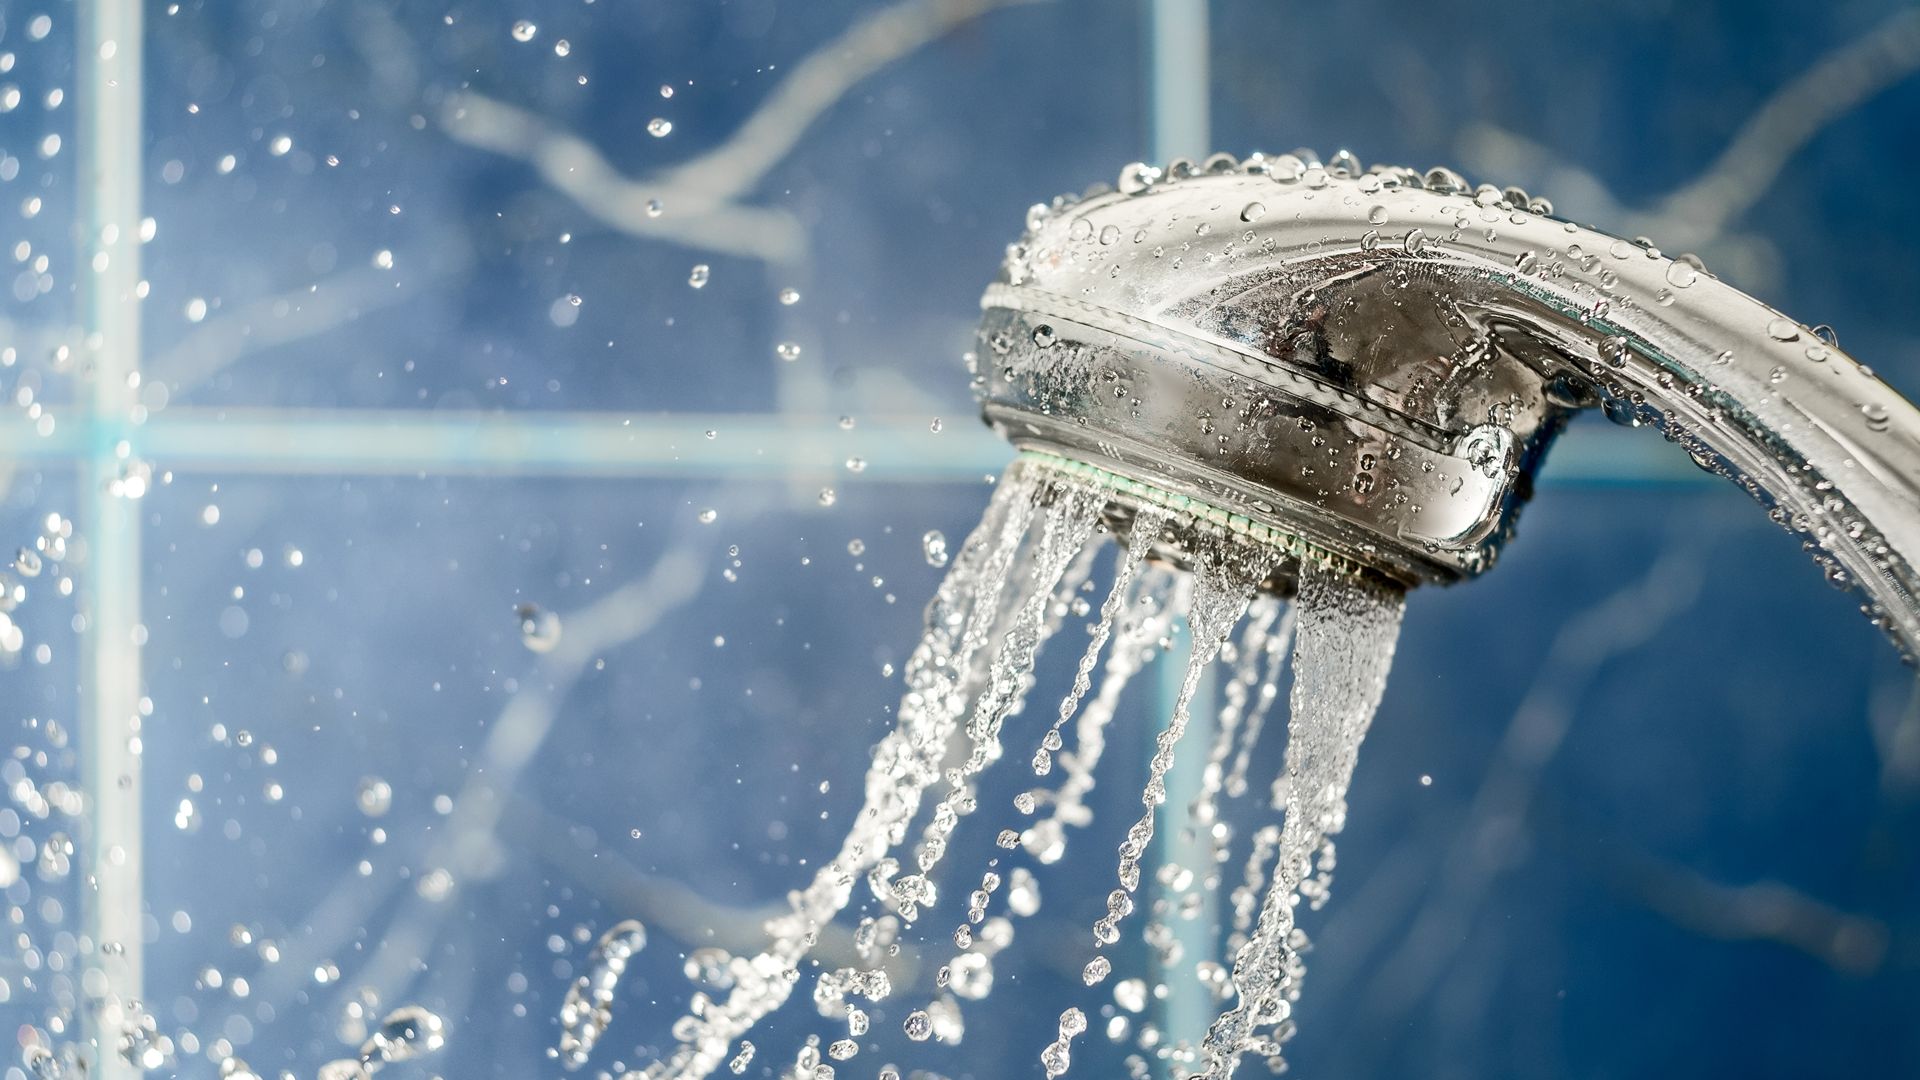
Firstly, turn off the water at the valves which can be found under the sink. Then, turn on the faucet to allow the water to drain fully from the pipes. As a side note, make sure that the plug hole is blocked so that small parts can’t fall down.
Using an Allen wrench, loosen the screw on the faucet handle and remove the handle. Be sure to line up the faucet parts in the order that they are removed so that you remember how they go back together.
Then, use slip-joint pliers to remove:
- the chrome bonnet
- the ball and cam assembly
- the Springs
Remove the O-Rings and Diverter
Work the spout back and forth in order to loosen it. Then, remove it from the faucet face which can require a little muscle. (This may require a little muscle.)Use the spanner to remove the O-rings, and use needle nose pliers to remove the diverter.
Reassemble the Components
You’re now ready to reassemble the components. All you need to do is press the new diverter into place, and install the new O-rings. Then, press the spout back into place by using both hands and pressing firmly. Next, use the spanner and Allen wrench as to slide the springs and packing pieces back into place.
Finish the Installation
Place the faucet ball into its slot and install the cam and cam packing. Then, you should reinstall the chrome bonnet and handle, and finally turn on the water and check for leaks. Voila, you’re done!